Top 3 Tips for Stunning Photos of Fireworks

Fireworks displays are mesmerizing and make for spectacular photographs. I love the variety sizes, styles, and colours.

Have you ever seen the smiley face fireworks? Definitely one of my favourites.

Capturing the brilliant bursts of light in the night sky, however, can be challenging. It’s so different than almost everything else.

To help you take stunning photos of fireworks, here are our top three tips for getting great pictures of fireworks.

1. Use a Tripod

Fireworks displays often occur in low-light conditions, requiring longer exposure times to capture the burst and trails of light effectively. Using a tripod helps stabilize your camera and prevents motion blur, ensuring your images are sharp and clear.

Pro Tip: If you don’t have a tripod, try stabilizing your camera on a steady surface like a wall, bench, or railing. You can also use a beanbag or any soft, moldable surface to help keep your camera steady.

That being said, if you do a lot of photography, it doesn’t hurt to purchase an inexpensive tripod for your specific needs. Your future fireworks photos will thank you!

Washington D.C. Fireworks2. Frame Your Shots

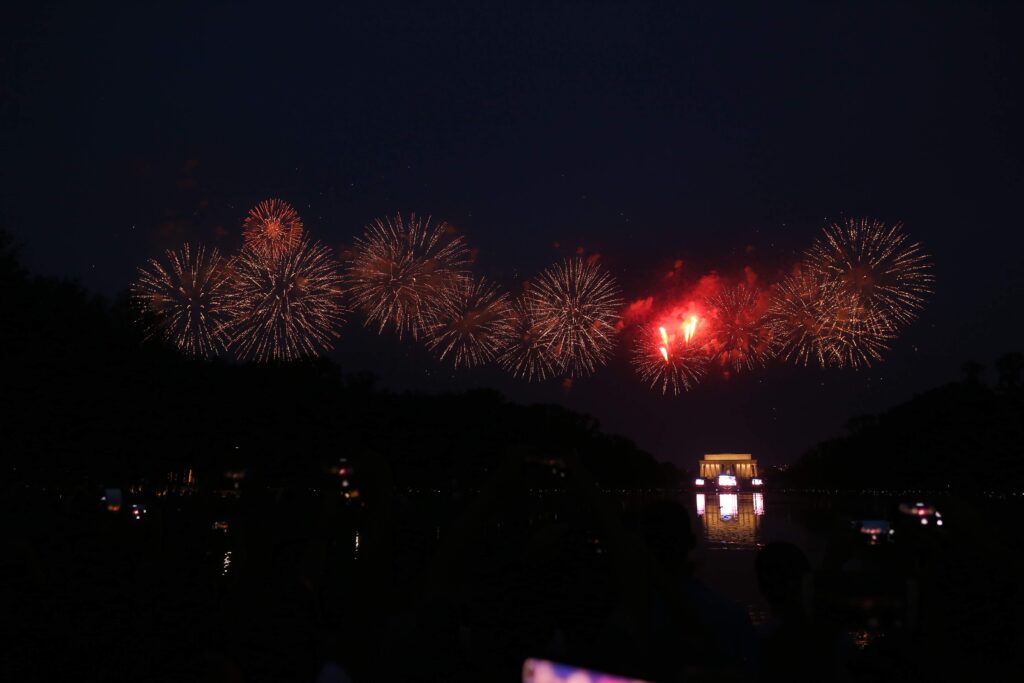
Including foreground elements in your shots can add context and scale to your fireworks photos, making them more interesting and dynamic. Look for buildings, trees, water, or other elements to frame your fireworks and provide a sense of place.

Our pictures of the fireworks from the National Mall in 2019 would not look the same if we cropped the Lincoln Memorial out of them!

Pro Tip: Arrive early to scout out your location and find the best vantage point with an unobstructed view of the sky. This will help you plan your composition and set up your equipment without rushing.

3. Set the Right Exposure

To capture the vibrant colors and intricate details of fireworks, set your camera to manual mode. Use a low ISO (100-200) to reduce noise, an aperture between f/8 and f/16 for a broad depth of field, and a shutter speed between 2 and 10 seconds to capture the full burst of the fireworks. Experiment with different exposure settings to find the perfect balance for your shots.

Pro Tip: Try taking a few test shots before the fireworks show begins. This way, you can adjust your settings based on the available light and get a feel for the correct exposure. Keep an eye on your histogram to ensure your shots are well-exposed without blown-out highlights.

Be prepared to make adjustments as you go, especially if the fireworks begin before the sky is completely dark.

Bonus Tip: Use Bulb Mode

Bulb mode allows you to keep the shutter open for as long as you hold down the shutter button, giving you more control over the exposure duration. This is especially useful for capturing multiple bursts in a single frame or adjusting to the timing of the fireworks display.

Pro Tip: Use a remote shutter release in bulb mode to avoid camera shake and maintain sharpness. Experiment with different exposure lengths to find the perfect timing for capturing the most impressive bursts.

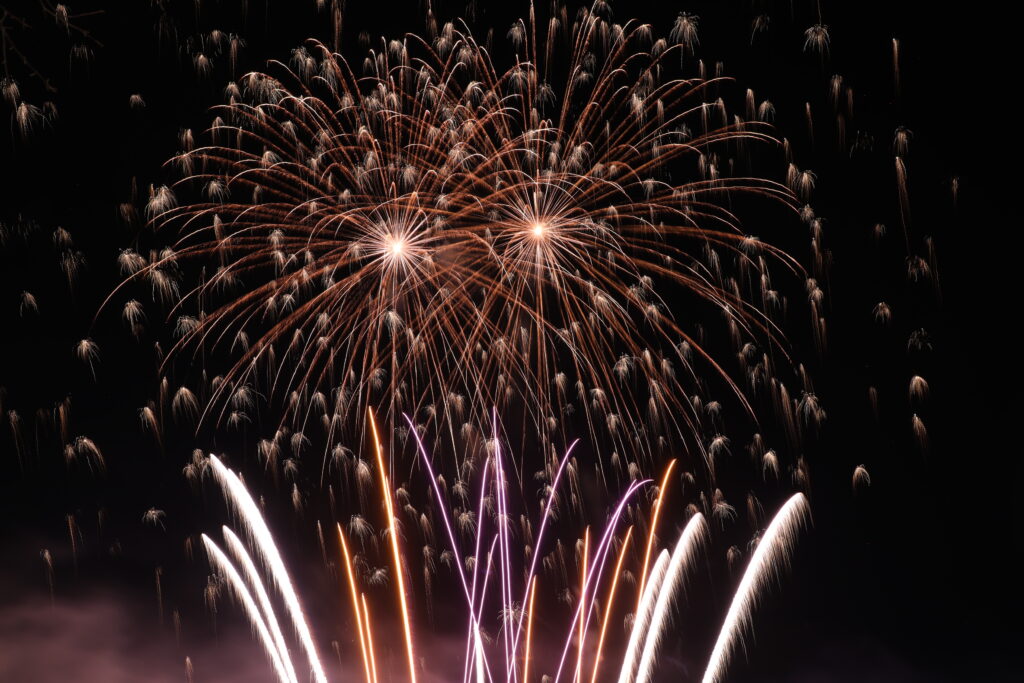
My favourite is to start the exposure as the firecrackers are being detonated and all the way until they fully explode. This allows me to get the trails of the fireworks in addition to the explosion in one single image.

Fireworks DisplayAdditional Practical Tips

  • Manual Focus: Autofocus can struggle in low light. Switch to manual focus and set your focus to infinity to ensure the fireworks are sharp and clear.
  • Image Stacking: If you want a picture with a sky full of fireworks, it might be better to take several pictures of individual fireworks and then combine them into one composite image later (a tripod that doesn’t move during the show is especially helpful for this technique). Some people might think that waiting until the grand finale is the best way to obtain this type of image, but the grand finale usually does not make good images because all of the fireworks at one time blow out the exposure and look like a big mess.

Conclusion

Some people just like to watch the fireworks and enjoy them. But I’m a photographer, and I have to take pictures 🙂 I can look at them and enjoy them later!

If you’re like me, one of the weird ones who has to “work” during fireworks shows while other relax, hopefully you find these tips helpful.

With a little bit of knowledge and a little extra work, you can capture stunning photos of fireworks that dazzle and delight.

Remember to be patient and practice different techniques to find what works best for you and your style.

Do you have any tips that you would add to this list?

Top 3 Composition Tips for Better Photos

Great composition is perhaps the one thing that separates great photographers from average picture-takers.

Composition is essential for creating visually appealing and impactful photographs.

Composition is the reason I set my camera up on a tripod before asking someone else to press the shutter button for our family pictures.

So I want to take a look at three concepts that can drastically improve the pictures you take. These few key principles can transform ordinary scenes into extraordinary images.

Rule of Thirds with Bride in Wedding Picture1. Use the Rule of Thirds

The rule of thirds is one of the most fundamental principles in photography composition. It involves dividing your frame into nine equal parts by two equally spaced horizontal and vertical lines. The idea is to place your subject along these lines or at their intersections.

Another variation of this rule (and the one that I use the most often), is to place the subject in the left third or the right third of the image rather than directly on one of those dividing lines.

This creates a more balanced and engaging image, as opposed to centering your subject, which often results in a static, less interesting photo.

Pro Tip: Many cameras and smartphones have a grid overlay feature that can be activated in the settings. Turn on this grid to help you visualize and apply the rule of thirds more easily while composing your shots. You should only have to do this for a short while before you naturally use the rule of thirds without thinking about it.

2. Incorporate Leading Lines

Leading lines are lines within a photo that guide the viewer’s eye through the image, often towards the main subject. These lines can be roads, rivers, fences, architectural elements, or anything else. Leading lines not only add depth and perspective to your photos but also help create a sense of direction and flow.

When composing your shot, look for natural or man-made lines that lead toward your subject within the frame. Position yourself and your camera in a way that these lines start from the edges of the frame and lead inward, drawing the viewer’s attention to the subject.

Pro Tip: Practice finding leading lines in everyday settings. Start with obvious ones like roads and paths, and then challenge yourself to find more subtle lines in less apparent places, such as shadows or patterns in nature.

Leading Lines in Engagement Picture

3. Frame Your Subject

Framing involves using elements within the scene to create a “frame” around your main subject. This technique draws attention to your subject and adds context to the scene.

Frames can be found in nature (such as tree branches or archways) or can be man-made (such as doorways or windows). Framing can add depth and layers to your photo, making it more visually compelling.

To utilize framing, position yourself so that the elements in the scene form a natural border around your subject. This not only focuses attention on the subject but also gives the viewer a sense of the environment in which the subject is located.

Pro Tip: Experiment with different types of frames. Try using foreground objects like leaves or architectural features to create a frame within a frame, adding an extra dimension to your photos.

Foreground Framing in Wedding Picture

Summary

Here’s my challenge for you. Take one of these three compositional elements and try to incorporate it into your photography for a while. Then try another one.

Once you know how to apply these techniques, you will also know when it is appropriate not to use them. For example, you can break the rule of thirds and place your subject right in the center of your frame if you have leading lines that would draw your attention to the center.

Eventually, these things become natural. In fact, it’s amazing how many times I will take a picture, set my camera down, and then pick my camera up and take the same picture with the exact same framing, depth, etc. It’s because I instinctively apply these concepts to the extent that I know what I want and can do it over and over again without thinking.

Practice these techniques regularly to develop your own compositional skills and take your photography to the next level!

Which of these techniques were you already aware of, and which ones do you need to practice?

3 Tips for Taking Great Pictures in the Spring

Spring is an amazing time to take pictures because of all of the wonderful colours coming back to life. As the world awakens from the slumber of winter (especially here in Minnesota where I live), vibrant colors, blooming flowers, and longer daylight hours present countless opportunities to capture stunning images.

Even if you’re not a professional photographer, there are just too many picturesque subjects to capture in the spring. Sometimes I find myself wishing that I had my actual nice camera with me and not just my phone!

So here are three ideas to take better pictures in the spring.

IRBC Golden Hour Over the Lake1. Embrace the Golden Hour

The golden hour—one hour after sunrise and one hour before sunset—offers the most beautiful lighting conditions for photography. It’s one of my favourite times to schedule photo shoots, go on a walk/run, or read my Bible. The soft, warm light during these times enhances colors and adds a dreamy quality to your photos.

It’s God’s best light, in my opinion. In spring, this light can highlight the fresh greens of new leaves, the vivid hues of flowers, and any colour of skin tone if you’re taking pictures of people.

To capture the best golden hour shots, plan your outings around these times. Wake up early to catch the sunrise or set aside time in the evening for sunset. Look for subjects that benefit from backlighting, such as flowers, trees, or people, to create a glowing effect. Golden hour reflections on water are also stunning.

If you have a DSLR or mirrorless camera, use a wide aperture (low f-number) to create a shallow depth of field, making your subject stand out against the softly lit background.

Pro Tip: Use a smartphone app or check online for the exact times of sunrise and sunset in your location. This will help you plan your time more precisely and ensure you don’t miss the golden hour.

2. Capture the Details

Spring is all about the details—the delicate petals of a blooming flower, the texture of newly sprouted leaves, or the intricate patterns of a butterfly’s wings. Macro photography is an excellent way to capture these details and showcase the season’s beauty up close.

If you have a camera with interchangeable lenses, invest in a macro lens or extension tubes for your camera to get those extreme close-up shots. If you’re using a smartphone, consider purchasing clip-on macro lenses, but I found that many phones these days have excellent macro capabilities.

Blue Flowers
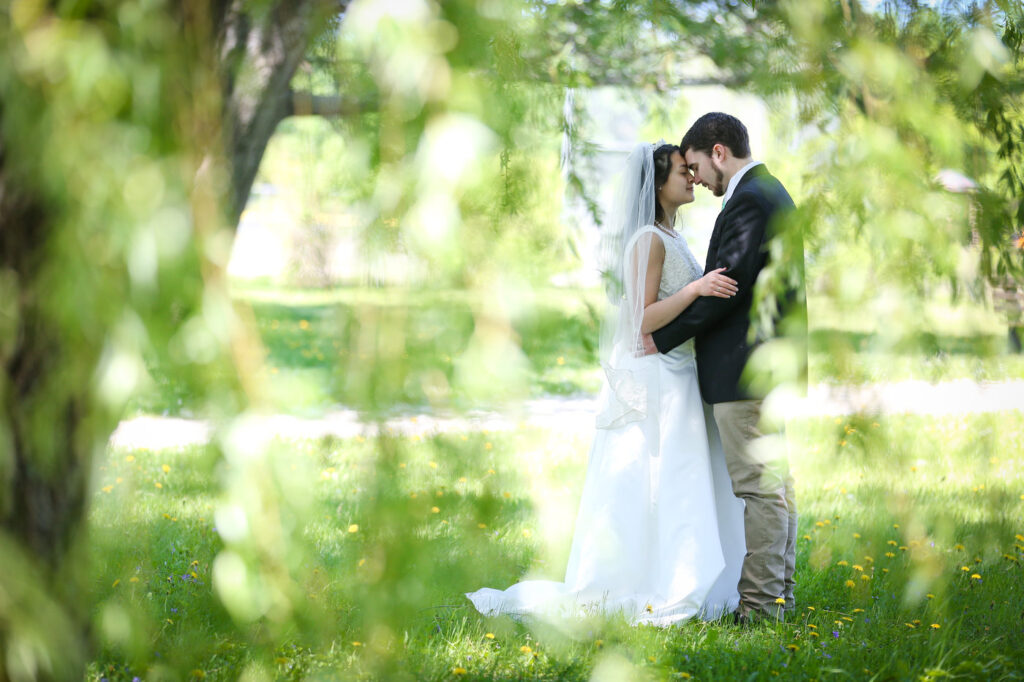
When shooting, pay attention to your background and ensure it complements your subject without being distracting. Use a tripod to keep your phone or camera steady, especially when shooting with a narrow aperture for a greater depth of field.

Focus on finding interesting compositions and angles. Get down to the level of your subject, experiment with different perspectives, and don’t be afraid to get close.

I find this especially true when taking pictures of flowers. The closer you get, the more details you can reveal, making your photos more captivating.

Pro Tip: Bring a small spray bottle filled with water to create the look of morning dew on flowers and plants. This can add an extra element of freshness and beauty to your macro shots.

3. Play with Color

From the green of the trees and the grass to the bright yellows of daffodils to the soft pinks of cherry blossoms, colour is everywhere. Take advantage of this natural palette by incorporating vibrant colors into your compositions.

Look for contrasting colors that can make your subject pop, such as purple flowers against green foliage or a blue sky backdrop.

When composing your shots, consider the color wheel and how different hues interact. Complementary colors (those opposite each other on the color wheel) create strong visual contrasts, while analogous colors (those next to each other) produce harmonious and pleasing images.

Additionally, pay attention to the weather. Overcast days can provide soft, even lighting that enhances colors without harsh shadows. I always tell people that overcast days are my favourite days to take pictures. I especially like overcast skies on wedding days!

After a rain shower, the colors can appear more saturated and vibrant, adding an extra level of interest to your photos. You might even have the privilege of seeing a rainbow! So get outside on those rainy days too.

Pro Tip: Keep a polarizing filter handy for your interchangeable lenses. It can help reduce glare and reflections while enhancing the colors in your photos, making the sky bluer and the foliage greener. I have a couple of these filters and just don’t use them enough!

Summary

Spring offers a unique and vibrant canvas for anyone who likes to take pictures. Embrace the golden hour, capture intricate details, and play with the season’s abundant colors, and you can create great images regardless of the equipment that you use.

Grab your phone or camera, head outside, and let the magic of God’s creation during spring inspire you!

Do you take a lot of pictures in the spring?

Do These 3 Things Every Day to Elevate Your Photography

Photography has changed the lives of millions of people, myself included. Pictures tell stories and preserve memories for a lifetime.

In this digital age where we can take a picture and make it available to the whole world in less than 10 seconds, we all have the ability to tell these stories and preserve these memories for ourselves.

Not only that, but photography allows you to capture the beauty in everyday moments. Regardless of whether you are a seasoned photographer or just starting out, finding inspiration in the ordinary can lead to some of the most compelling images.

In fact, I got my start as a photographer by taking hundreds of pictures of everyday moments, not as a portrait photographer or as an artist.

So I want to help you improve your photography with three tips that can help you find and capture those everyday moments with skill and creativity.

Huang Family Framed by Grass
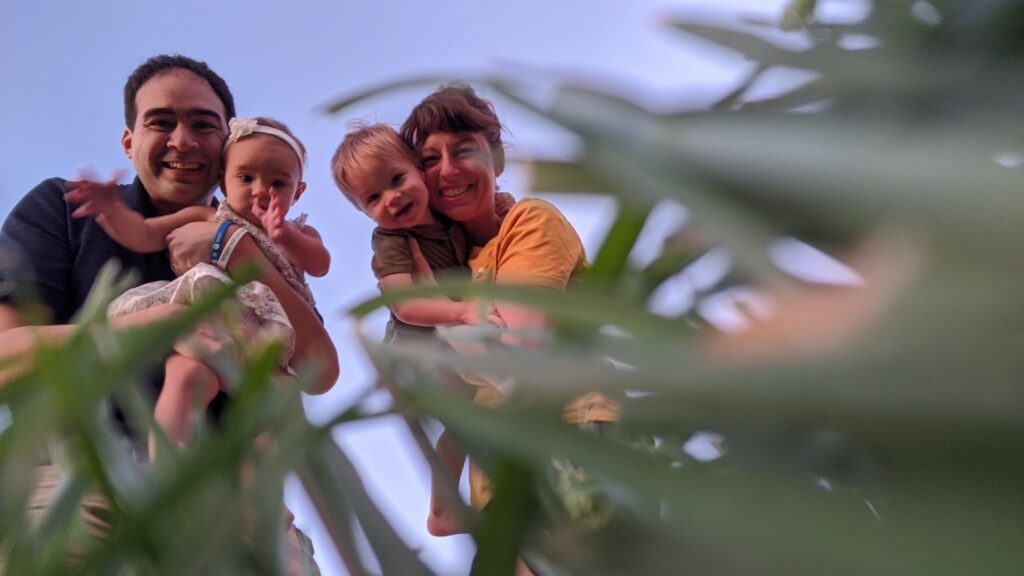
1. Find Beauty in Ordinary Moments

One of the most powerful aspects of photography is its ability to transform the mundane into something extraordinary. The key to capturing beautiful everyday photos is to train your eye to see the potential in ordinary moments.

Look around your daily environment and focus on the small details that often go unnoticed. It could be the way sunlight filters through your kitchen window in the morning, the pattern of raindrops on a windowpane, or the way shadows create interesting shapes on the ground.

A month ago I was at a sculpture park with my family, and I set my phone down on the ground with the selfie camera still on. The perspective was so unique that I left the phone in the grass, got my family within the frame, and took the picture. I love how it turned out! Now it just needs a little editing to fix the lighting.

Pro Tip: Keep your camera or smartphone with you at all times. Being prepared allows you to seize unexpected opportunities and capture fleeting moments that you might otherwise miss. Practice shooting from different angles and perspectives to find unique compositions that highlight the beauty in everyday scenes.

This is what I did while I was a college and seminary student. I carried my DSLR to every single class, every single meal, and every single event. It was one of the best decisions I ever made as a photographer. Today I carry my Google Pixel 1 with me everywhere because it has a nice camera.

2. Experiment with Different Angles and Perspectives

Changing your viewpoint can dramatically alter the impact of a photograph. Instead of always shooting from eye level, try to get low to the ground (like the accidental perspective of the picture at the sculpture park) or find a higher vantage point. Experimenting with different angles can add depth and interest to your photos, making them stand out.

Try taking pictures through other objects, like the leaves on a tree or people in a room. Adding foreground elements always adds context and interest to photos.

Pro Tip: Start by photographing the same subject from multiple angles. For example, if you’re photographing a coffee cup on a table, try shooting from above for a flat lay effect, from the side to capture the cup’s shape, and from a low angle to include the surrounding environment. This exercise will help you see how different perspectives can change the story your photo tells. This is also how people take normal items and turn them into beautiful collages that you find in the homes of the wealthy!

Baby Jocelyn with a Smartphone3. Practice Regularly to Improve Your Skills

Like any other art form, photography requires practice to improve. The more you shoot, the better you’ll become at recognizing good composition, understanding light, and capturing compelling images. Make a habit of taking photos every day, even if it’s just with your smartphone. Regular practice will help you develop your unique style and refine your technical skills.

Even if you are interested in exploring or specializing in a specific type of photography, still take the time to take pictures of anything and everything because it will help you better understand the elements that make a good photograph.

Pro Tip: Set yourself small photography challenges to keep things interesting and push your creative boundaries. For instance, you could focus on a different theme each week, such as shadows, reflections, or color. By giving yourself these mini-projects, you’ll stay motivated and continuously improve your skills.

Summary

Embracing everyday photography is all about finding beauty in the ordinary and capturing it in a way that resonates with others. By training your eye to see the potential in daily moments, experimenting with different angles and perspectives, and practicing regularly, you’ll not only improve your photography skills but also gain a deeper appreciation for the world around you.

You will also be able to take better pictures of those random people you meet who ask you to take a quick picture of them with their phone 😉

So, grab your camera or smartphone and start exploring the endless photographic opportunities that await in your everyday life.

Do you plan to implement any of these ideas?